We will show you how to Install Windows Server 2016 on VMWare Workstation. You can use this method to run Windows Server 2016 on your personal computer and practice new features and configurations before implementing them in a production environment. Windows Server 2016 comes with a lot of improvements and new features. And like always, Microsoft has made available different editions of Windows Server 2016 for different users and scenarios. In this article, we will focus on the Datacenter edition, which is the most feature-rich edition of Windows Server 2016.
If you want to Install Windows Server 2016 on VMWare Workstation, then follow this guide. We will show you step by step process to Install Windows Server 2016 on VMWare Workstation. For your note: this guide is also applicable for installing other versions of Windows Servers and Desktops on VMWare Workstation.
Basic Requirments To Install Windows Server 2016 On VMWare Workstation?
Before we start with the installation process, let’s have a look at the system requirements to install Windows Server 2016 on VMWare Workstation.
#1. Host Computer to run VMWare Workstation:
The Minimum computational resources needed to run Windows Server 2016 on VMWare Workstation:
- Processor: Intel Core 2 Duo processor or later. AMD Athlon™ 64 X2 Dual Core Processor 3000+ or higher is recommended.
- Memory: 4GB of RAM or more is recommended. The minimum supported is 2GB of RAM. Note that memory requirements increase as guest operating systems are added.
- Storage: 60GB of available storage is recommended. Additional storage may be necessary when installing guest operating systems.
- Network: A network connection is required for installation and updates.
#2. Download Windows Server 2016 ISO File:
The first thing you need is the ISO file of Windows Server 2016. You can download it from the official website of Microsoft. Just go to this link and select the edition you want to download. In our case, we will be downloaded the Datacenter edition because it is the most feature-rich edition.
#3. Install VMWare Workstation 15 Pro:
After downloading the ISO file, the next thing you need is virtualization software. In this article, we will be using VMWare Workstation. You can also use other virtualization software like VirtualBox, Hyper-V, etc.
Just go to the official website of VMWare and download the latest version of VMWare Workstation Pro. Install it on your computer and launch it.
Now that we know the system requirements let’s start with the installation process.
How To Install Windows Server 2016 On VMWare Workstation?
Time needed: 30 minutes.
How to Install Windows Server 2016 on VMWare Workstation?
- Open the new Virtual Machine Wizard1. Fire up VMWare Workstation
2. Go to File -> New Virtual Machine or Ctrl + N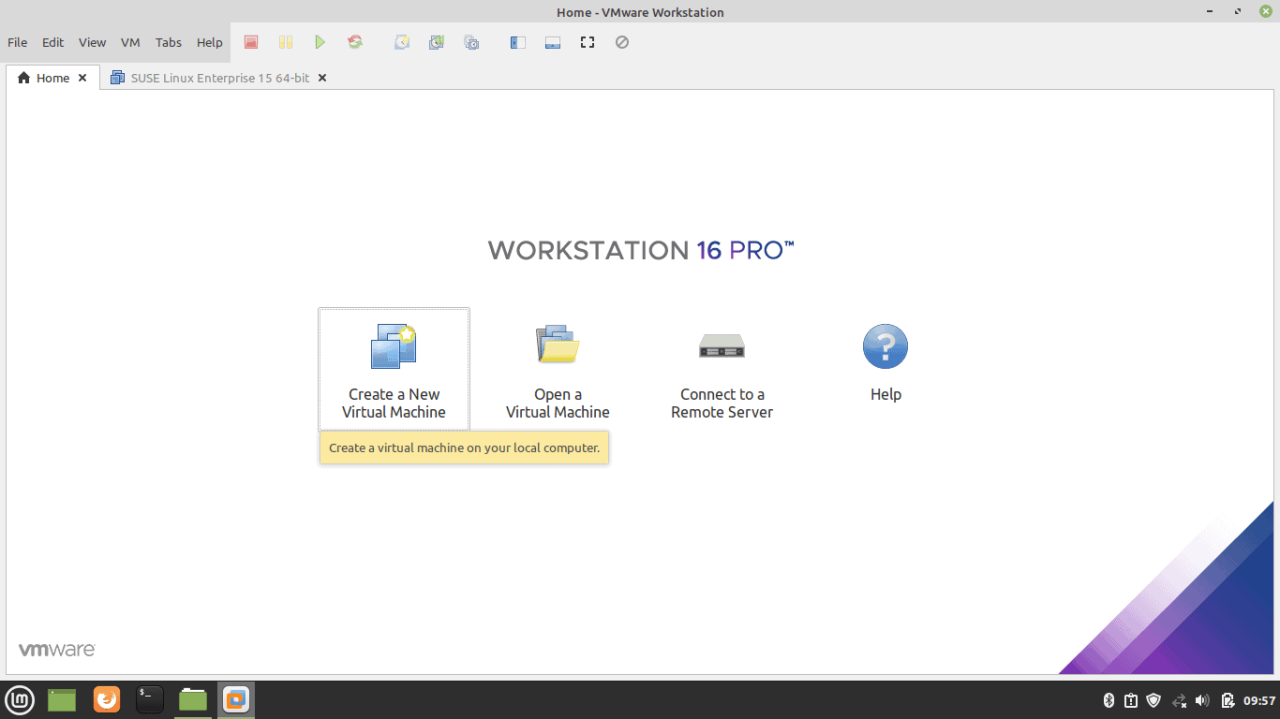
- Select Custom Configuration WizardSelect Custom Wizard and click Next
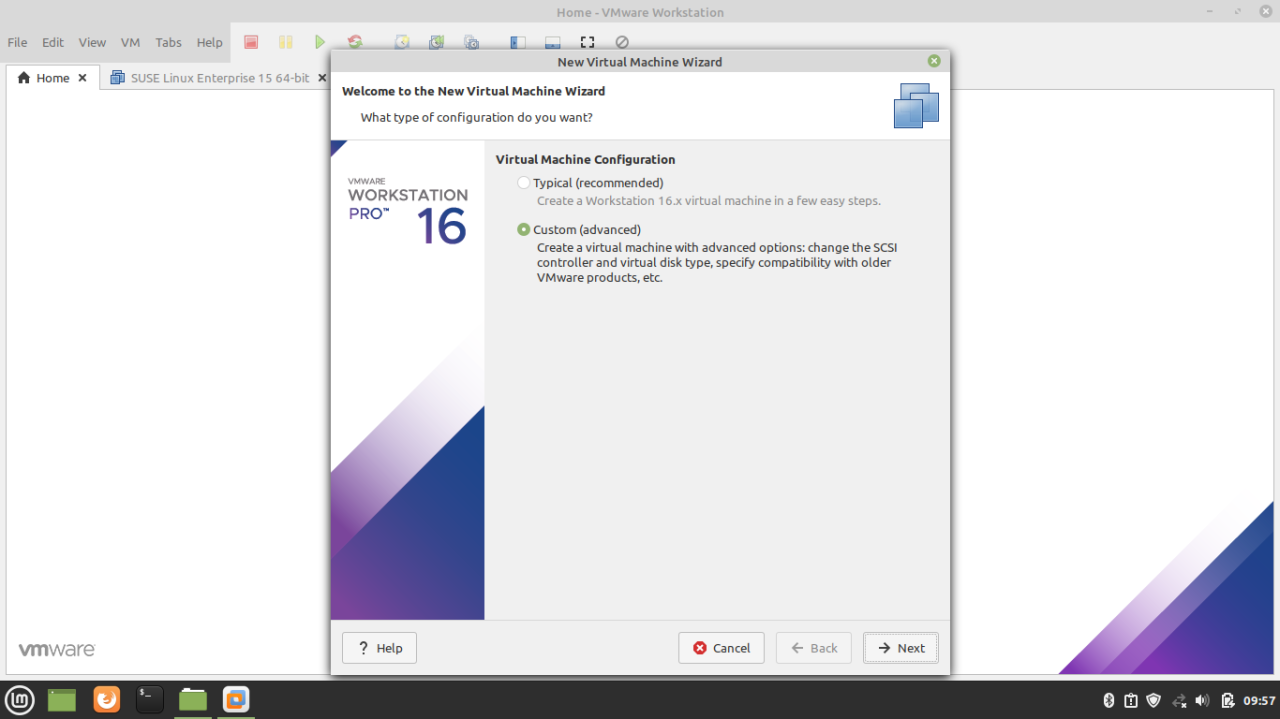
- Choose VM Hardware Compatibility
1. Choose the compatible hardware from the drop-down
2. Click Next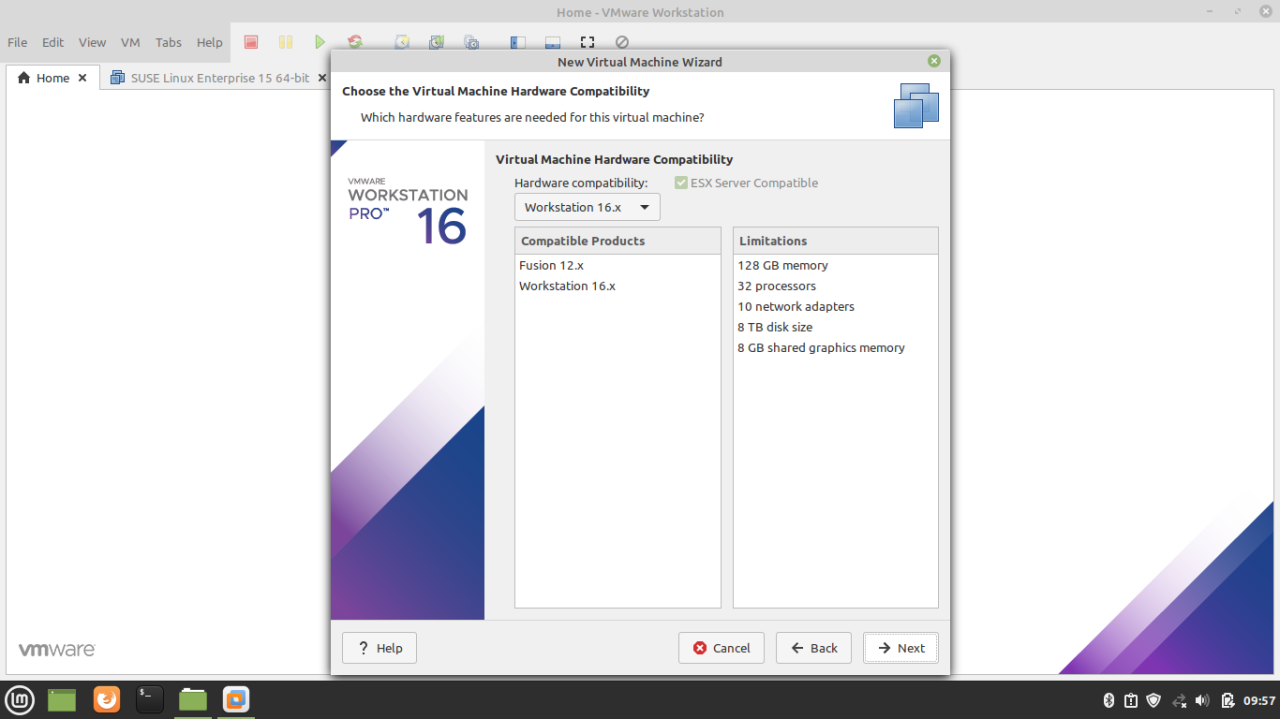
- Select to install operating system later option1. Select to install operating system later option
2. Click Next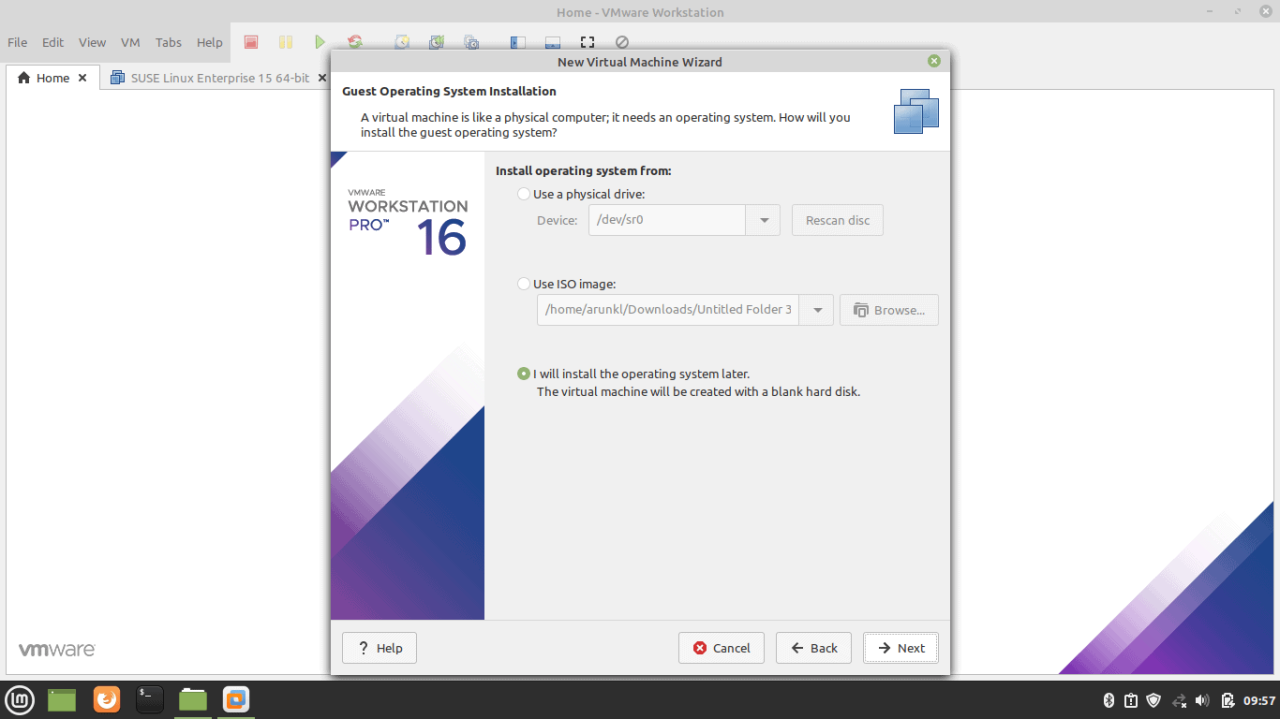
- Select the guest operating system1. Select Windows 10 since we don’t have the windows server option included yet.
2. Click Next
- Virtual Machine Name & Location1. Give the Virtual Machine Name & Location
2. Click Next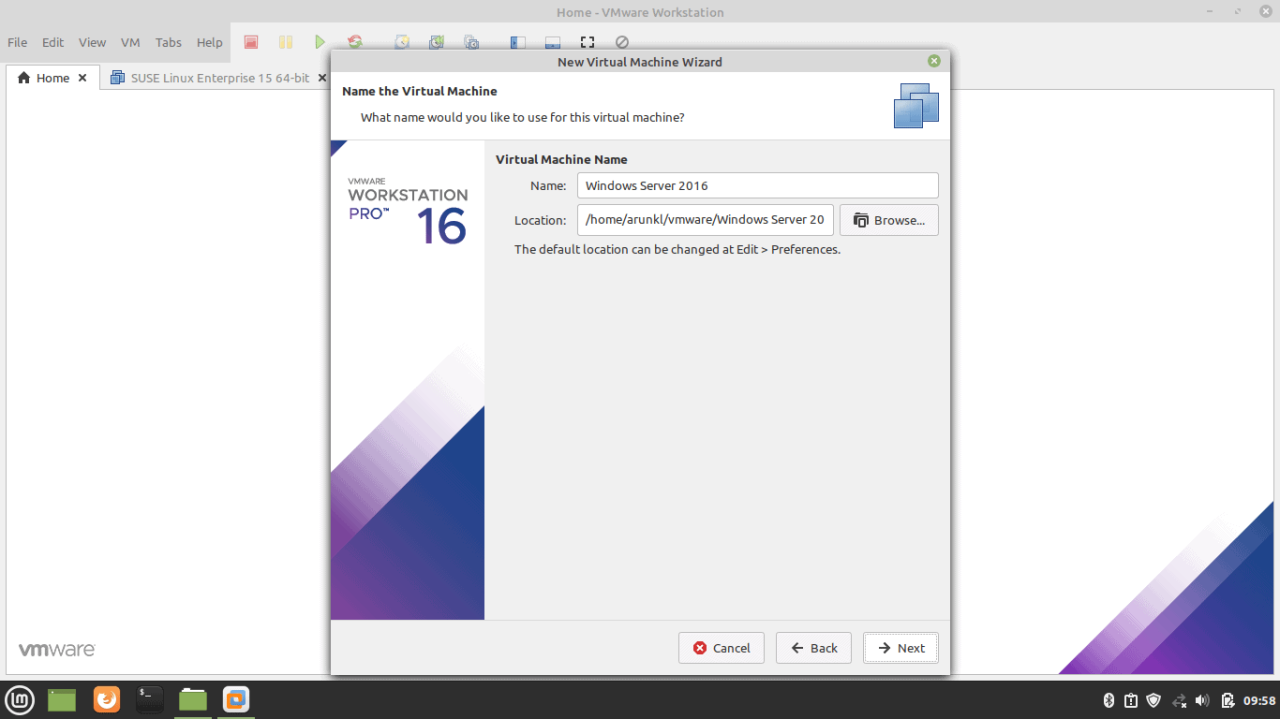
- Select Firmware Type1. You can select either BIOS or UEFI. Note: Only new boards supports UEFI.
2. Click Next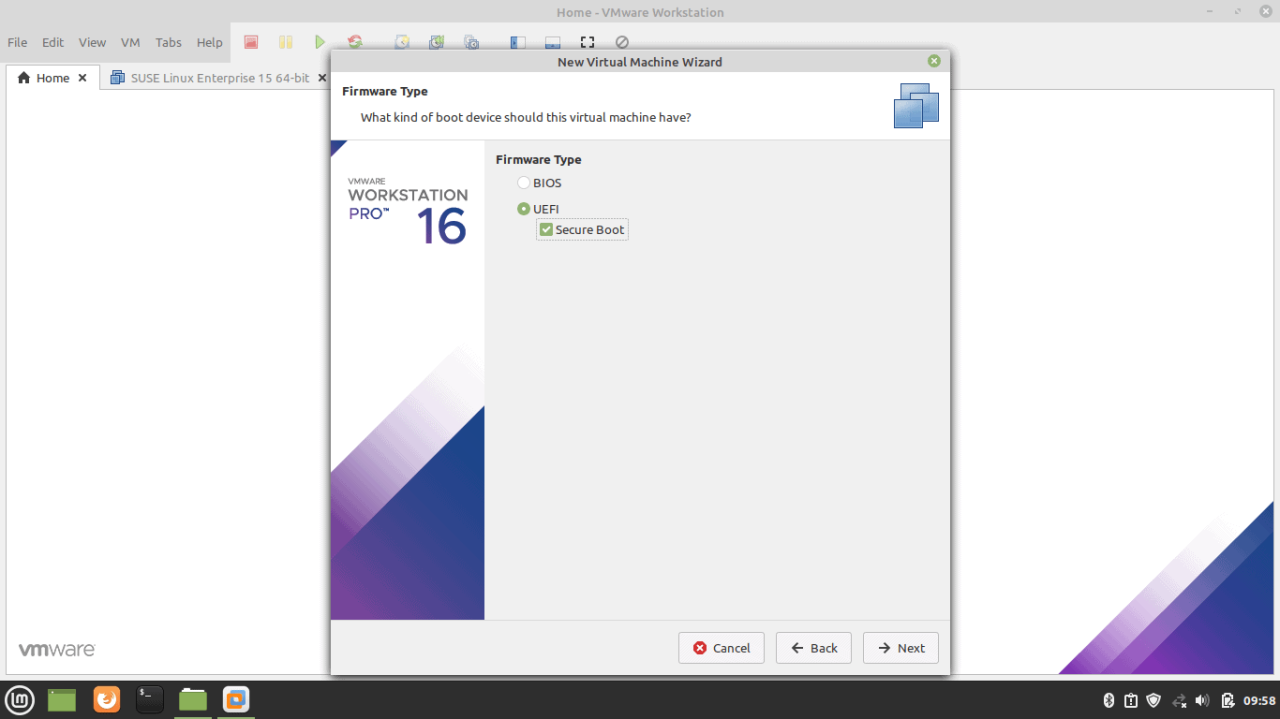
- Allocate the number of processors you need1. Allocate how many processors you need. This depends on your host machine’s hardware.
2. Click Next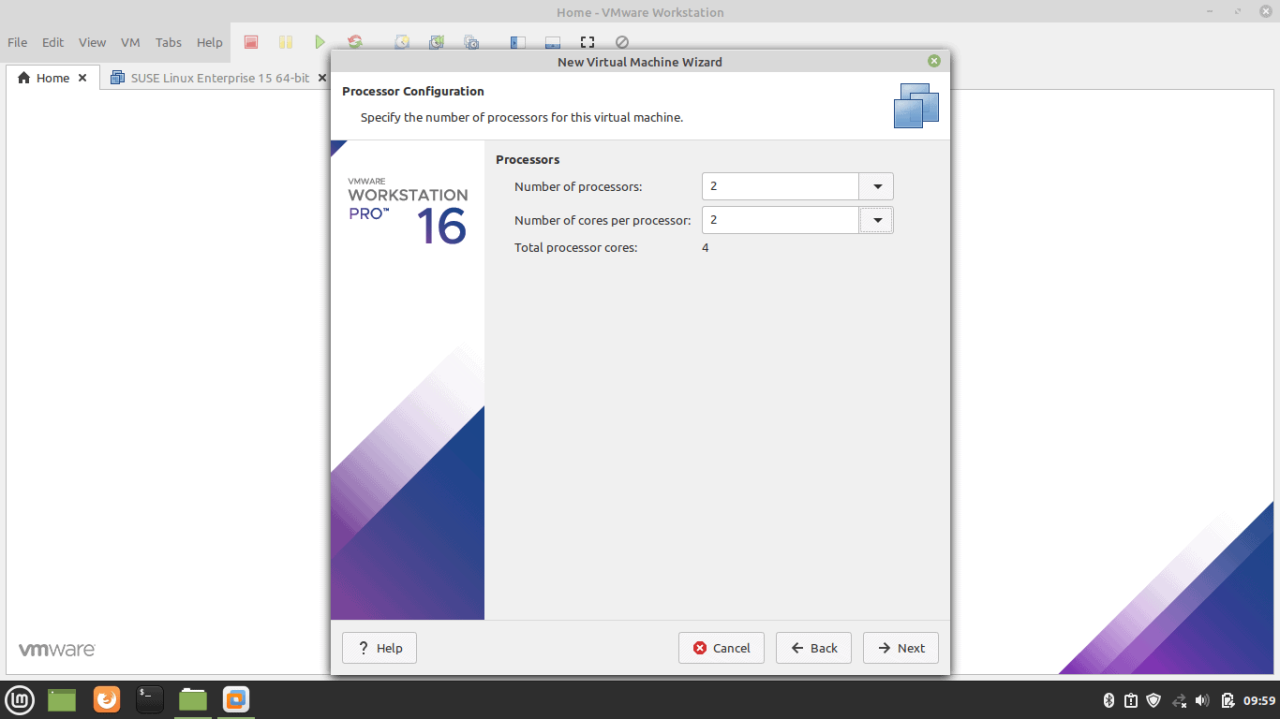
- Set the Memory for the virtual machine1. This depends on your host machine’s hardware. You should leave the memory to run the host machine without hazels.
2. Click Next
- Select Network Connection settings for the VM1. Four options are available to select. Please read and select your desired network setting.
2. Click Next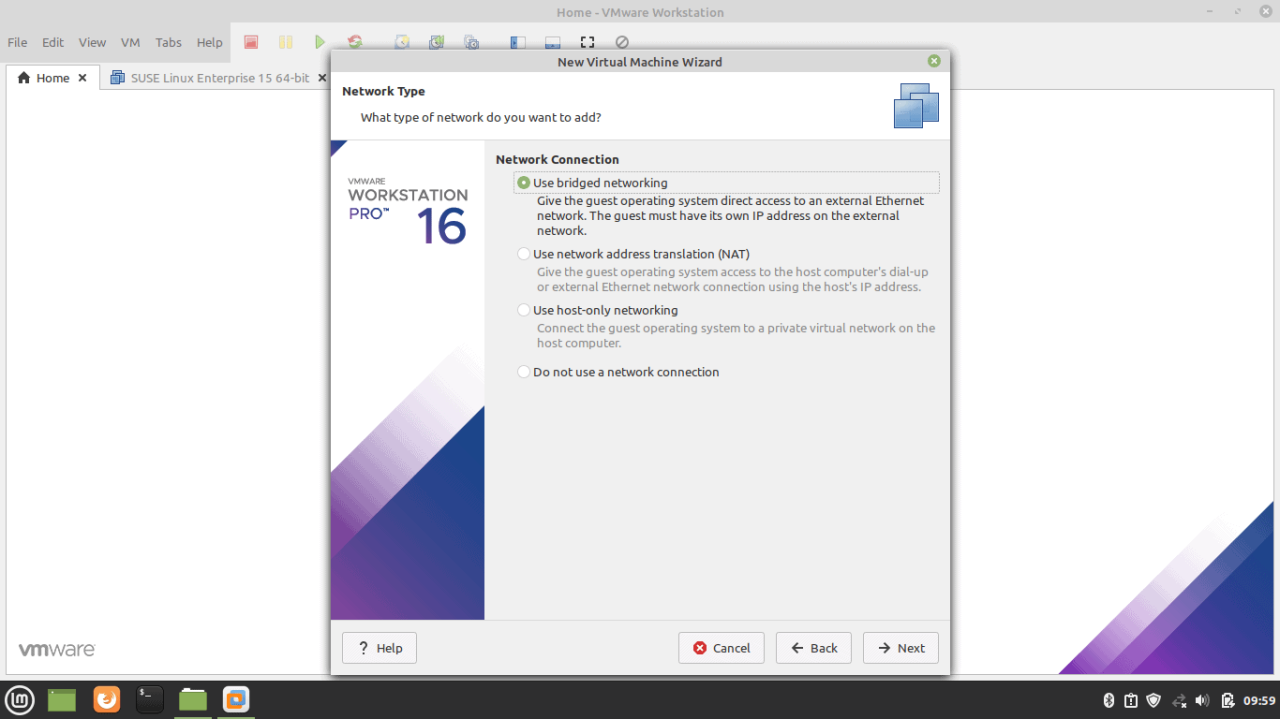
- Choose the appropriate storage IO controller1. Choose the appropriate storage IO controller
2. Click Next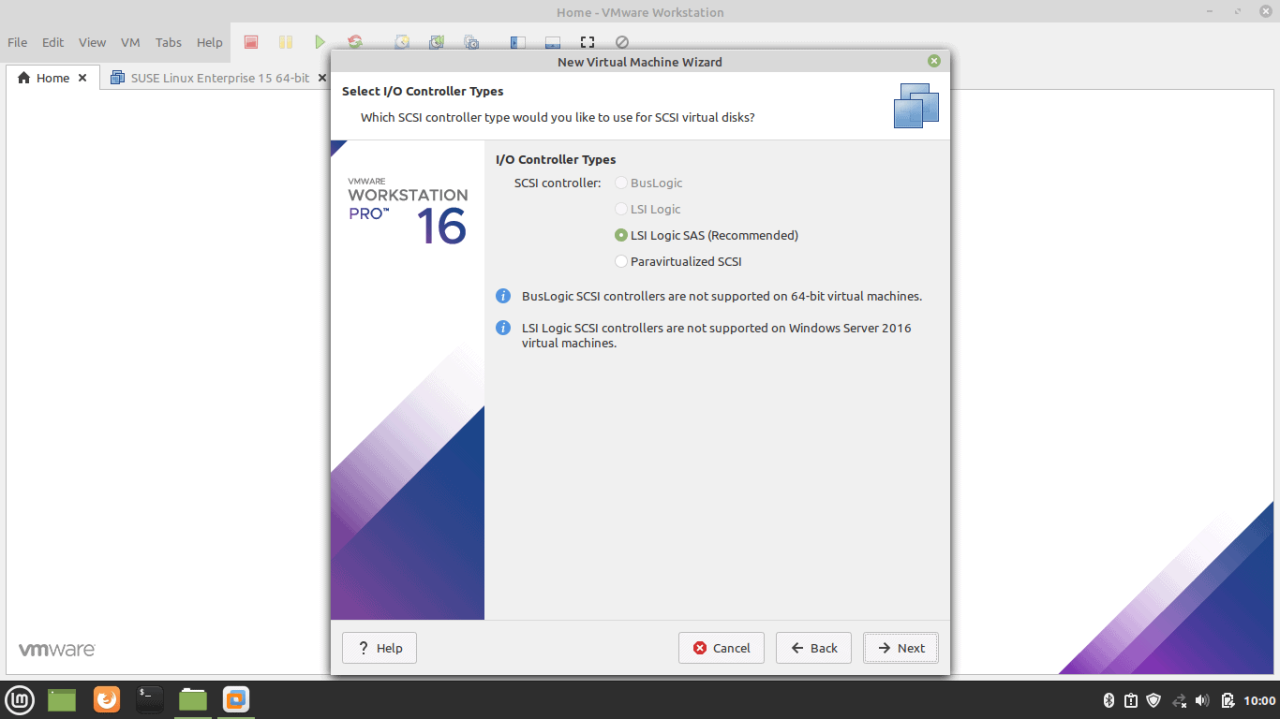
- Select the disk type for the VM1. Select the available disk type on your host machine.
2. Click Next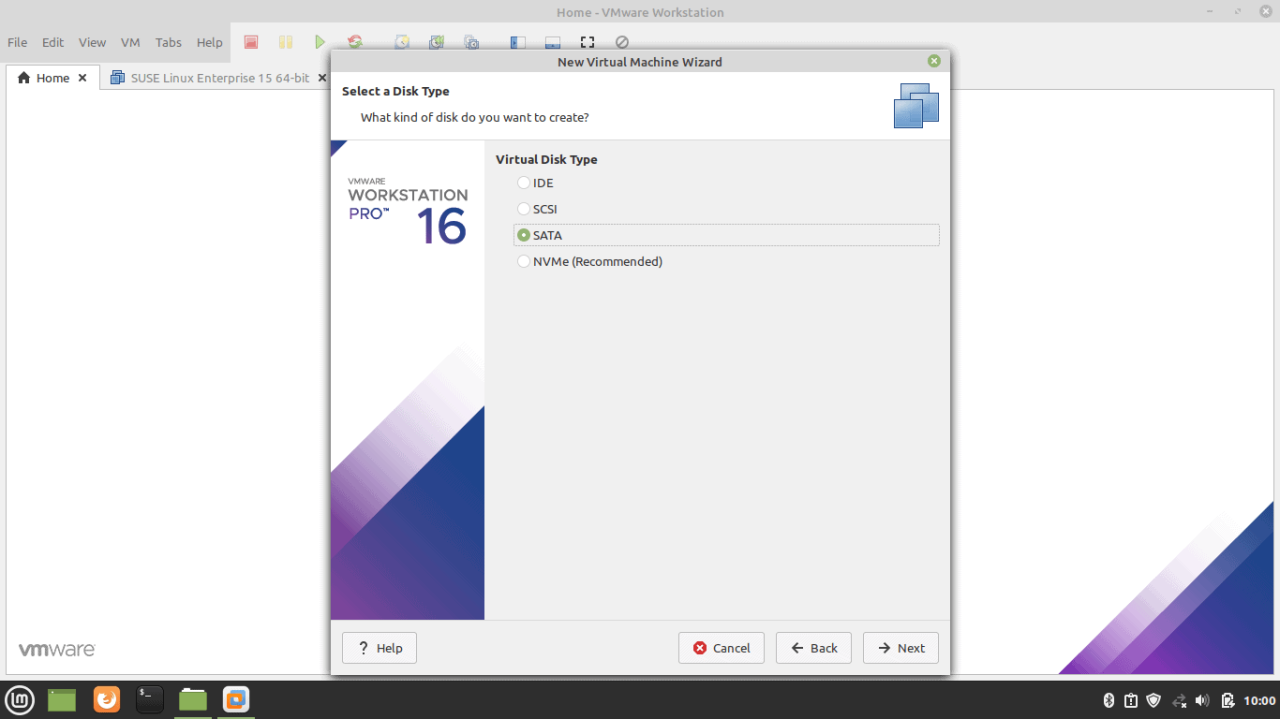
- Select the virtual disk for the VM1. Select the virtual disk for the VM if not create a new disk
2. Click Next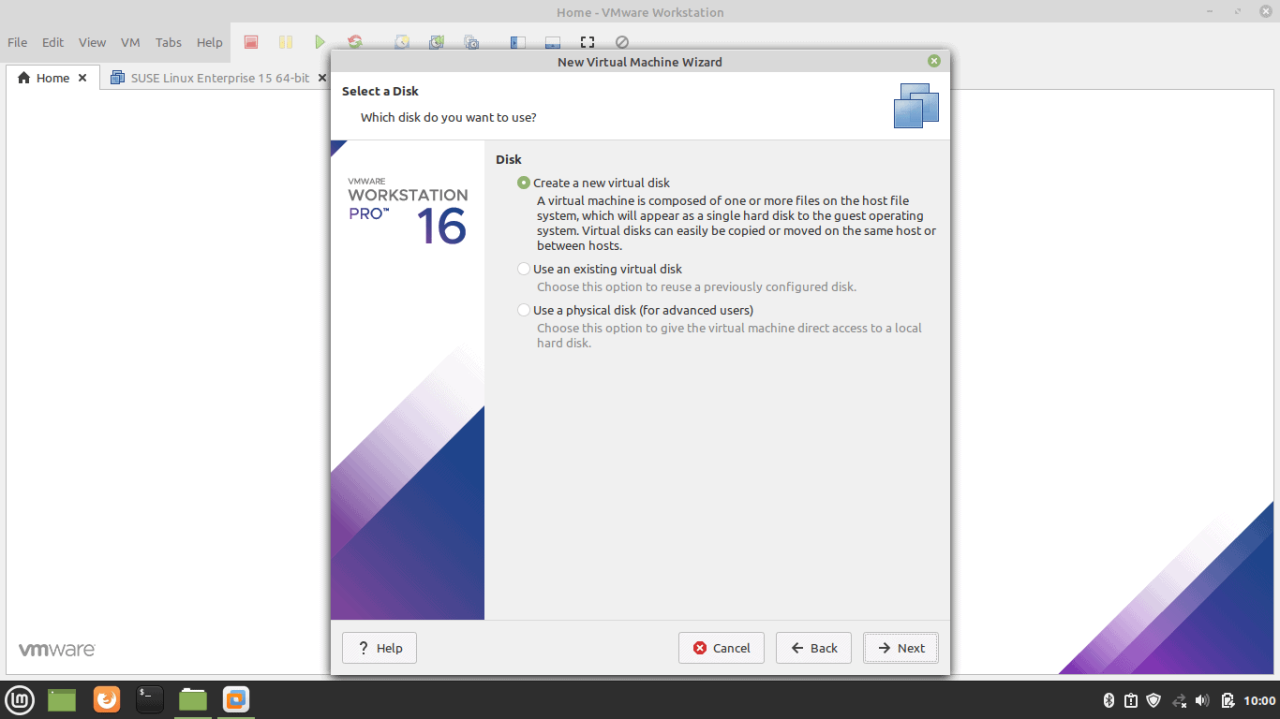
- Assign the disk size for the VMYou can select a single or split virtual disk option. Selecting a single disk will increase the performance. But, if you want to move the disk to a different location you can select the split virtual disk.
Allocate the disk size and click next.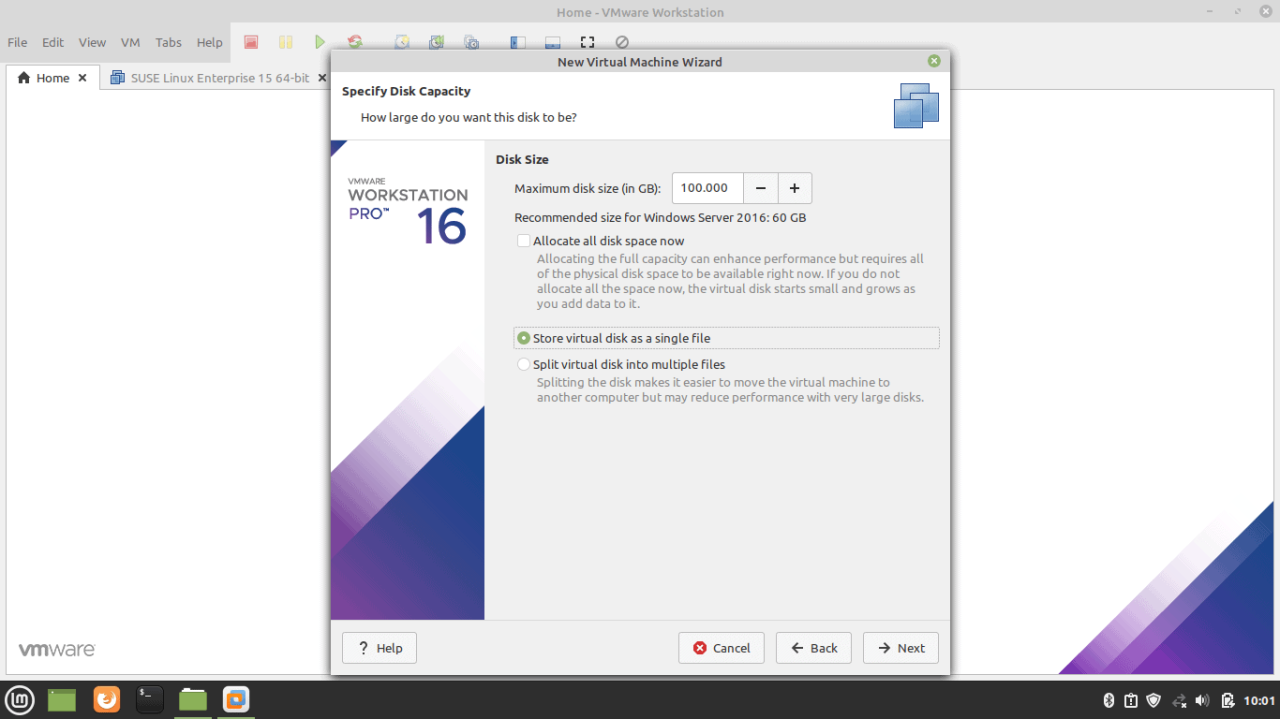
- Give the path where you want to keep the VM disk1. Give the location where you want to save the disk.
2. Click Next.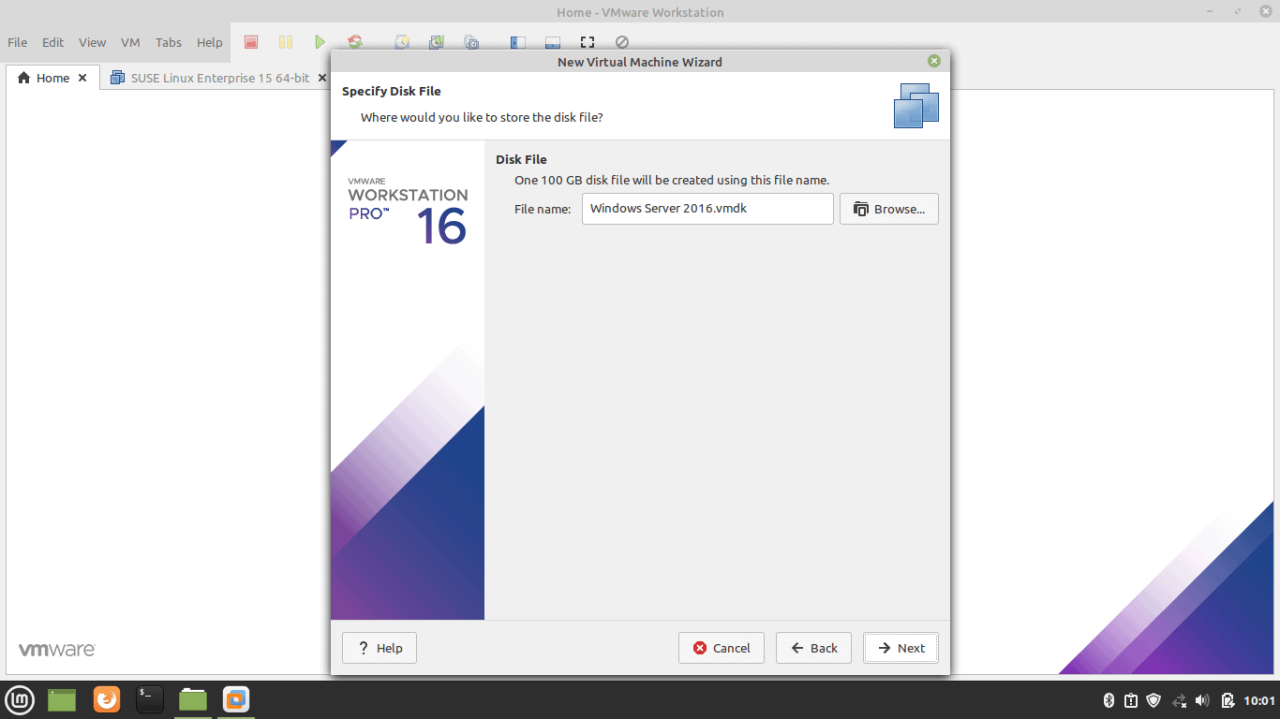
- Create the VM1. VM settings are ready to create the VM.
2. Click Finish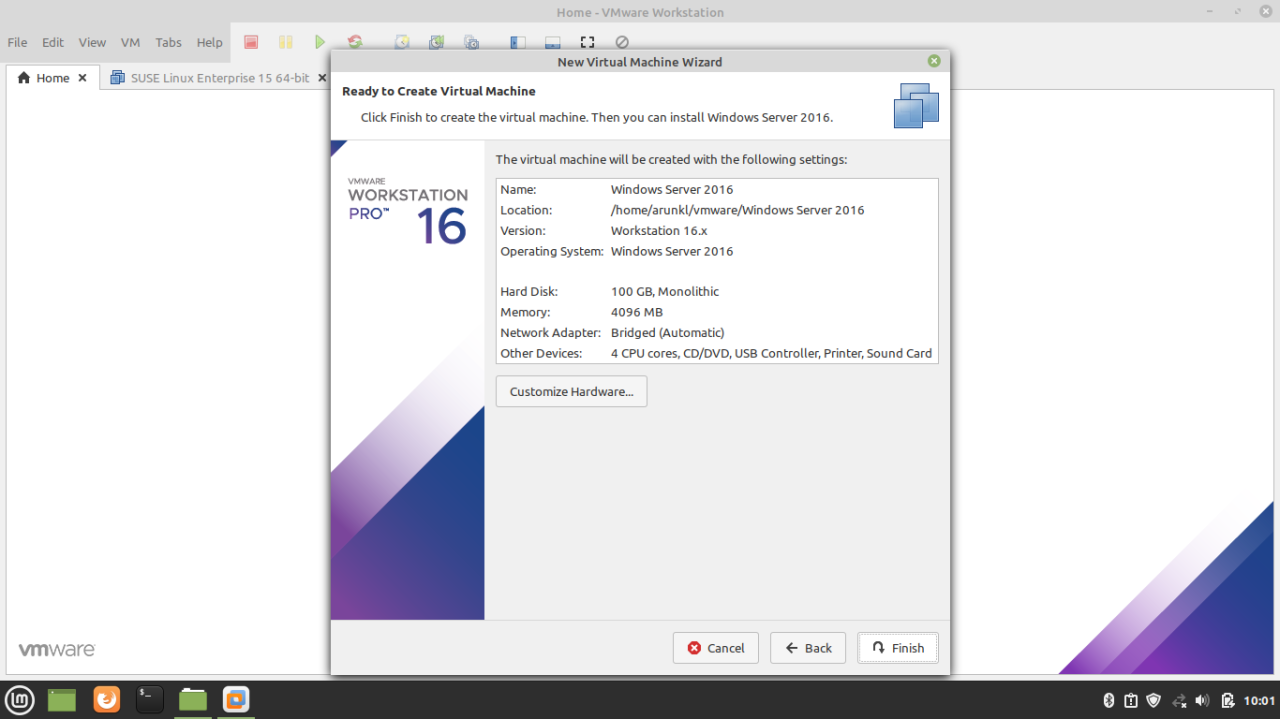
- Load the ISO image to boot the VM1. Select use ISO image file
2. Browse the ISO image
3. Click Ok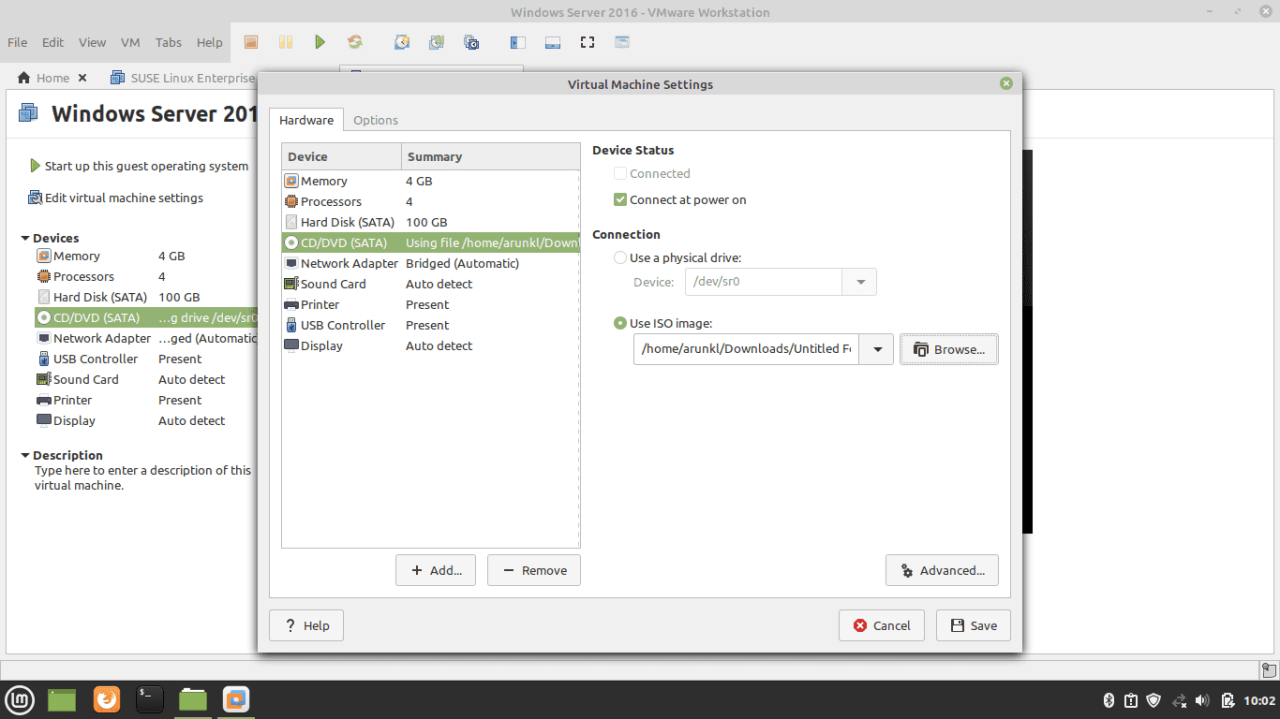
- All set to power on the VM
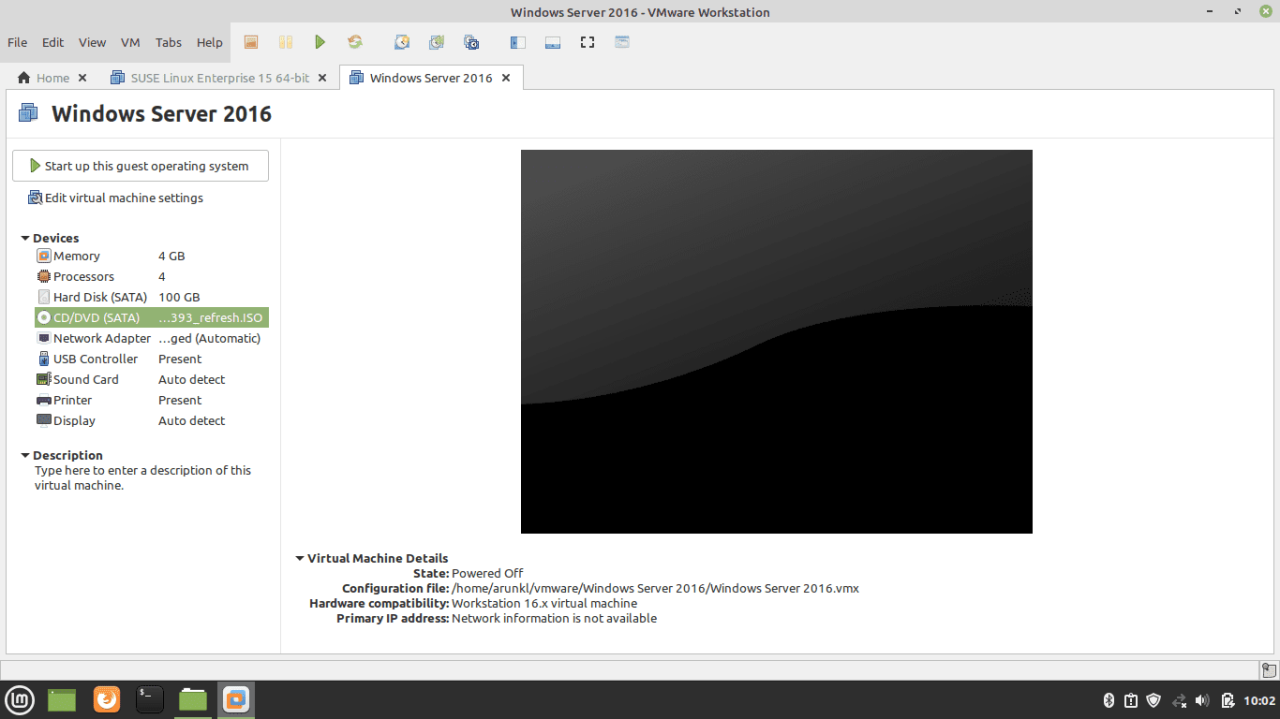
- First boot screen of Windows Server 2016

- Windows Server 2016 installation wizardThe installation wizard will appear in a couple of seconds after the boot
1. Select the language time and keyboard settings
2. Click Next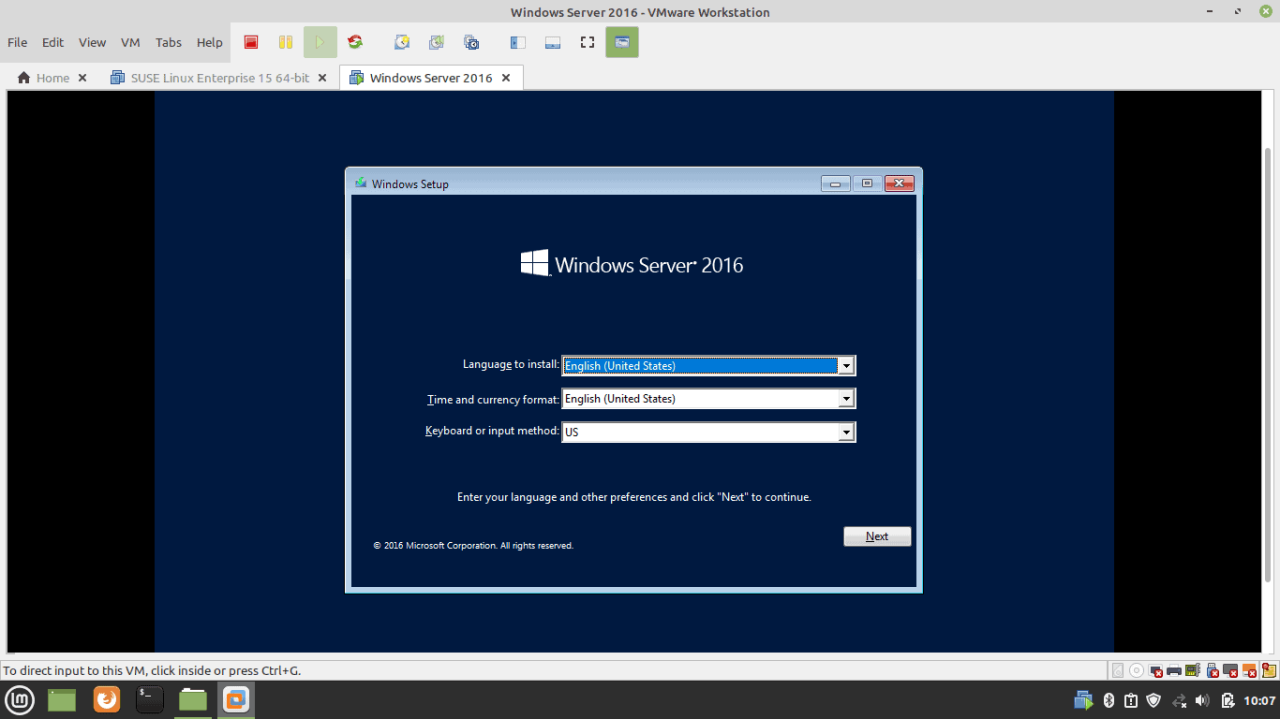
- Install Windows Server 2016Click on Install Now
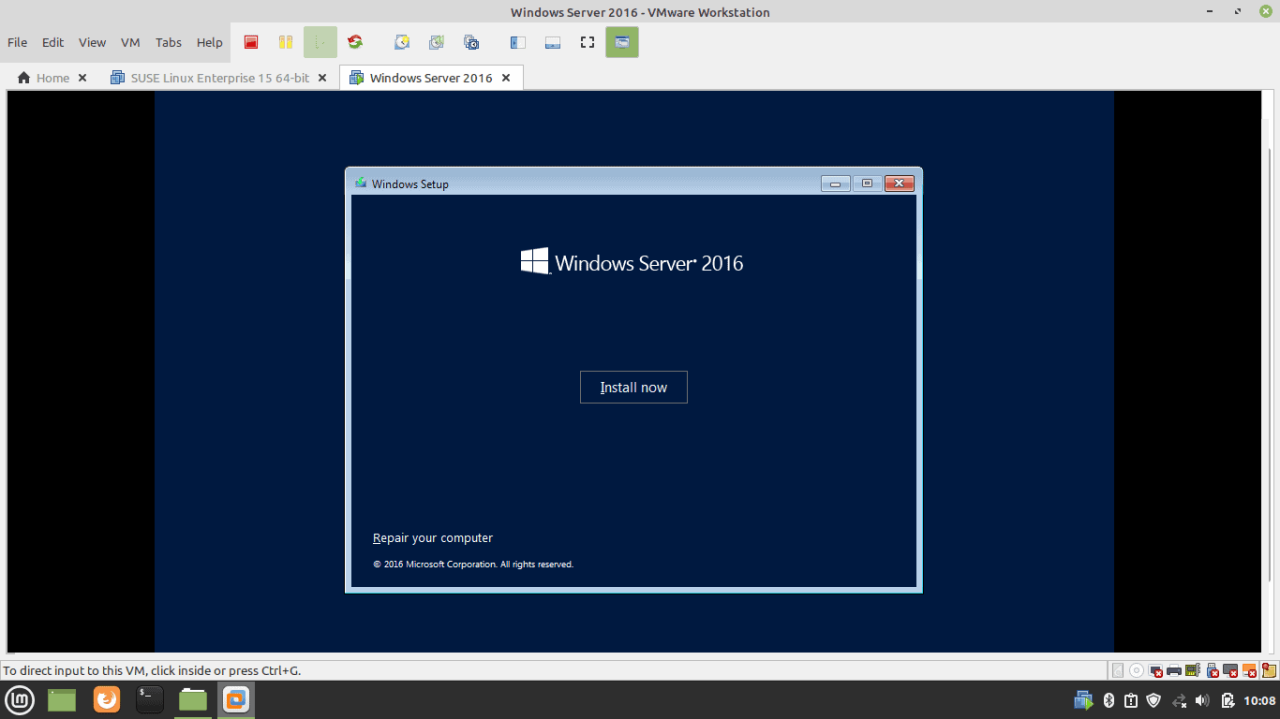
- Select The Operating System You Want To Install1. Select the version you want to install
2. Click Next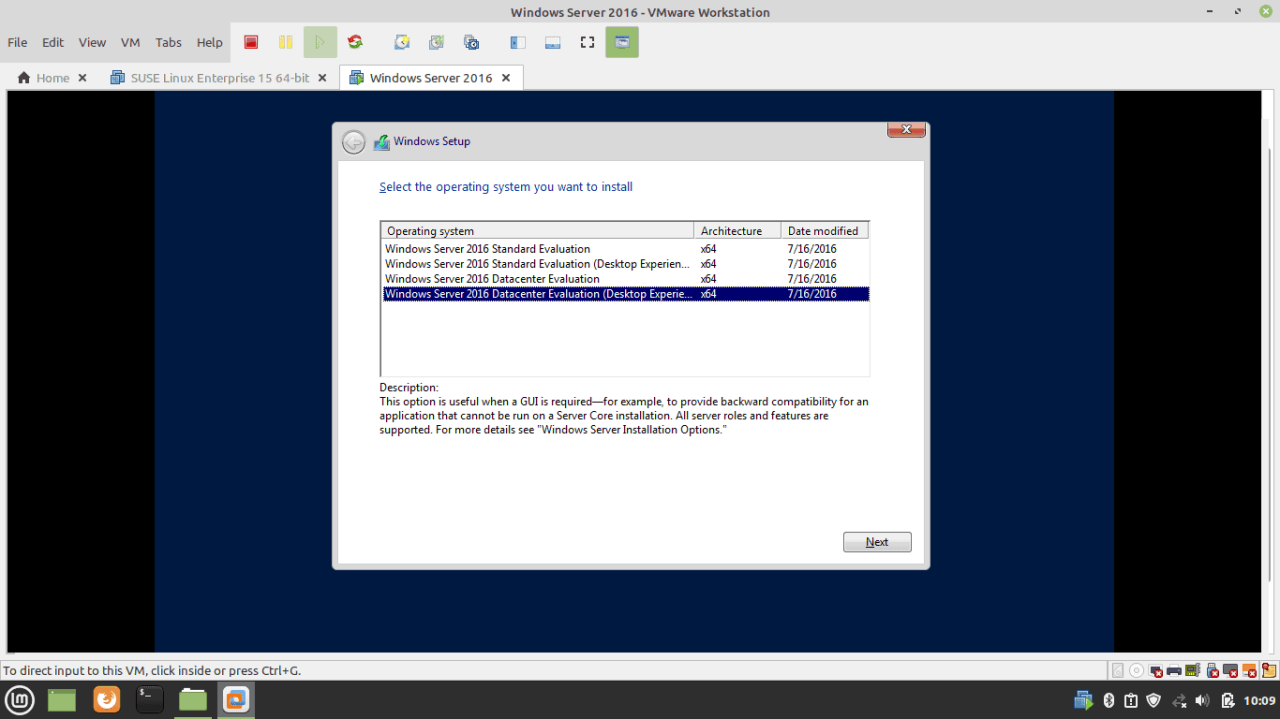
- Accept the License Agreement
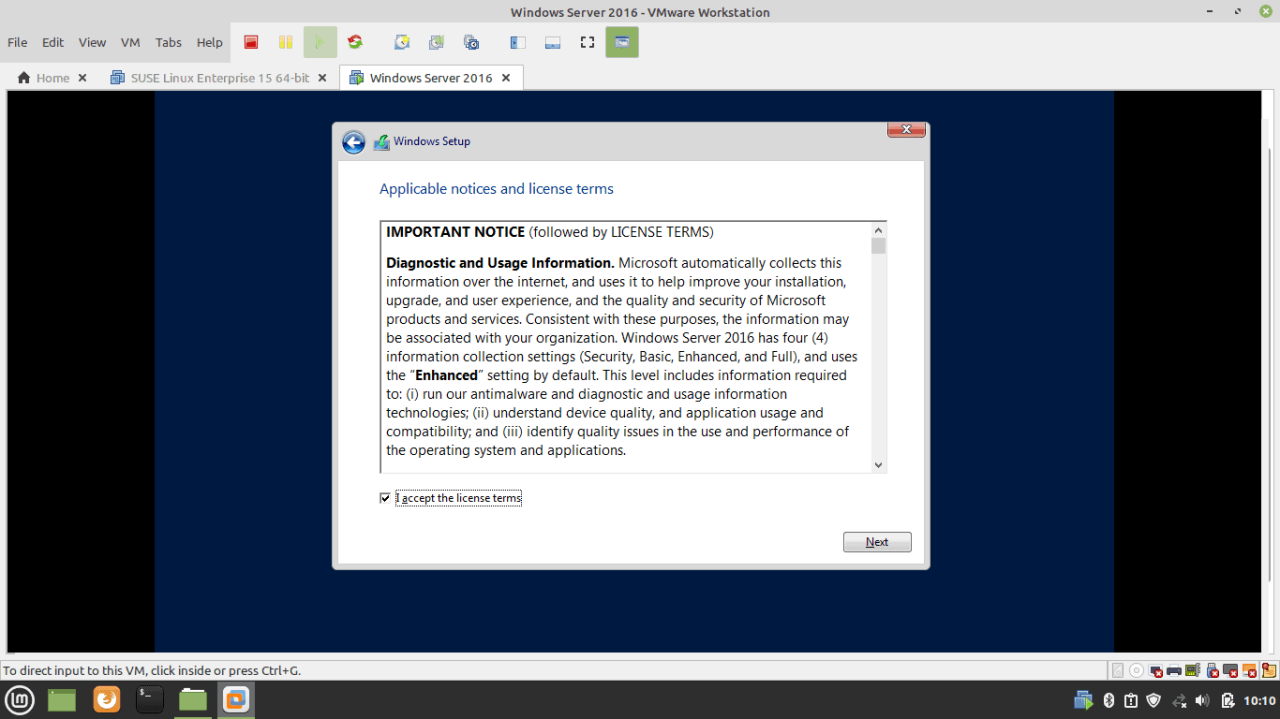
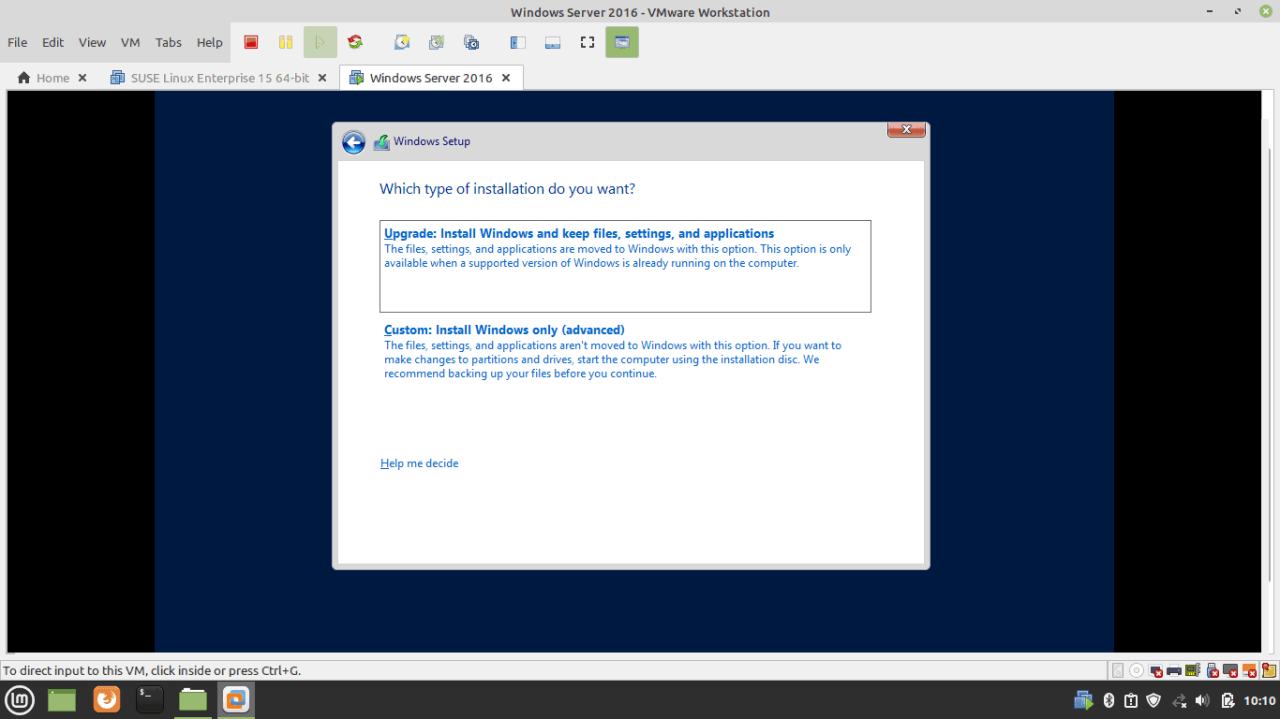
- Select installation methodSelect custom installation if you are doing a fresh installation. Or, select upgrade if you are upgrading your older Windows Server to Windows Server 2016.
- Select the installation disk for installationSelect the disk and click on Next to install Windows Server 2016. If you want to create additional logical partitions, then select the disk and click on new assign the partition size. You can create multiple partitions within available storage.

- Installing Windows Server 2016
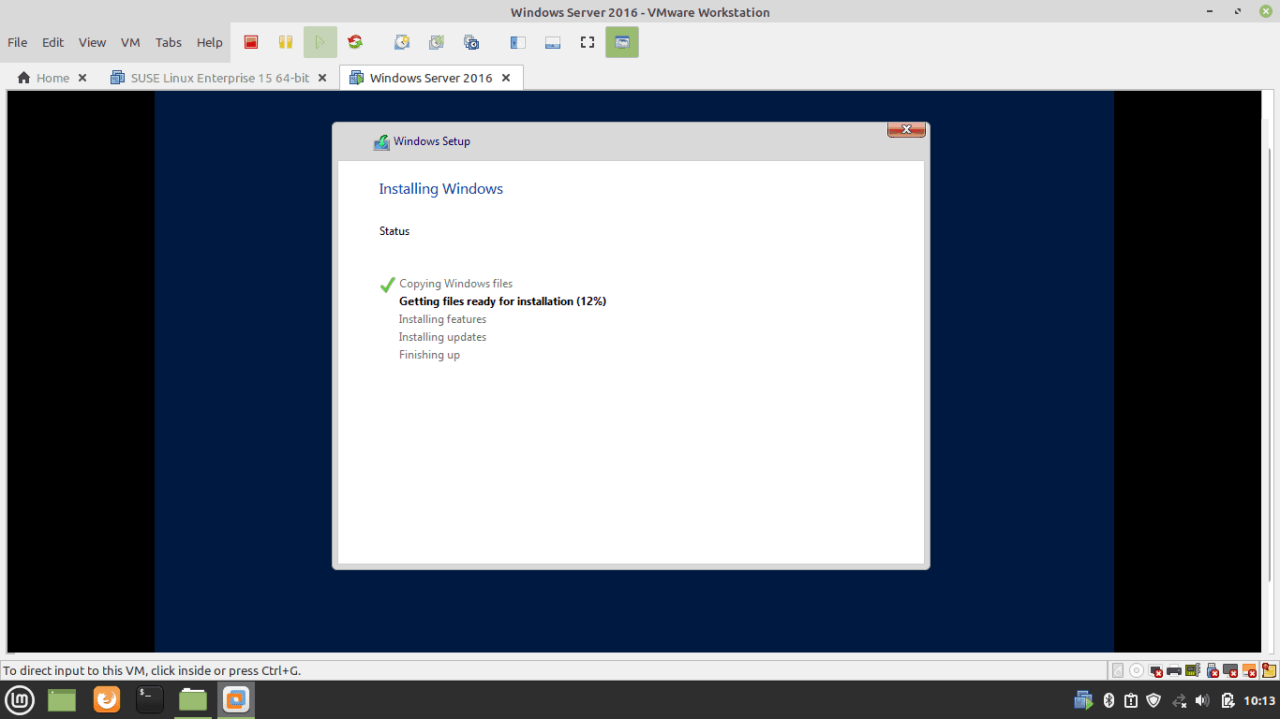
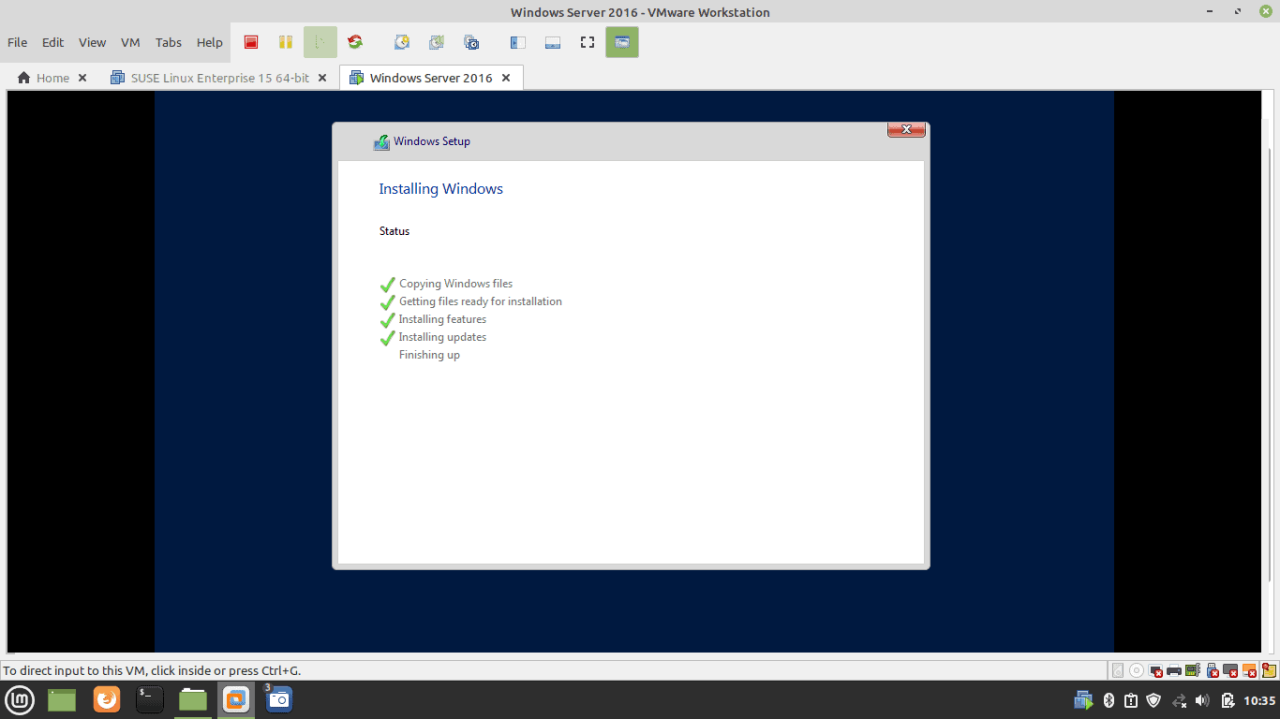
- Installation is in progress…
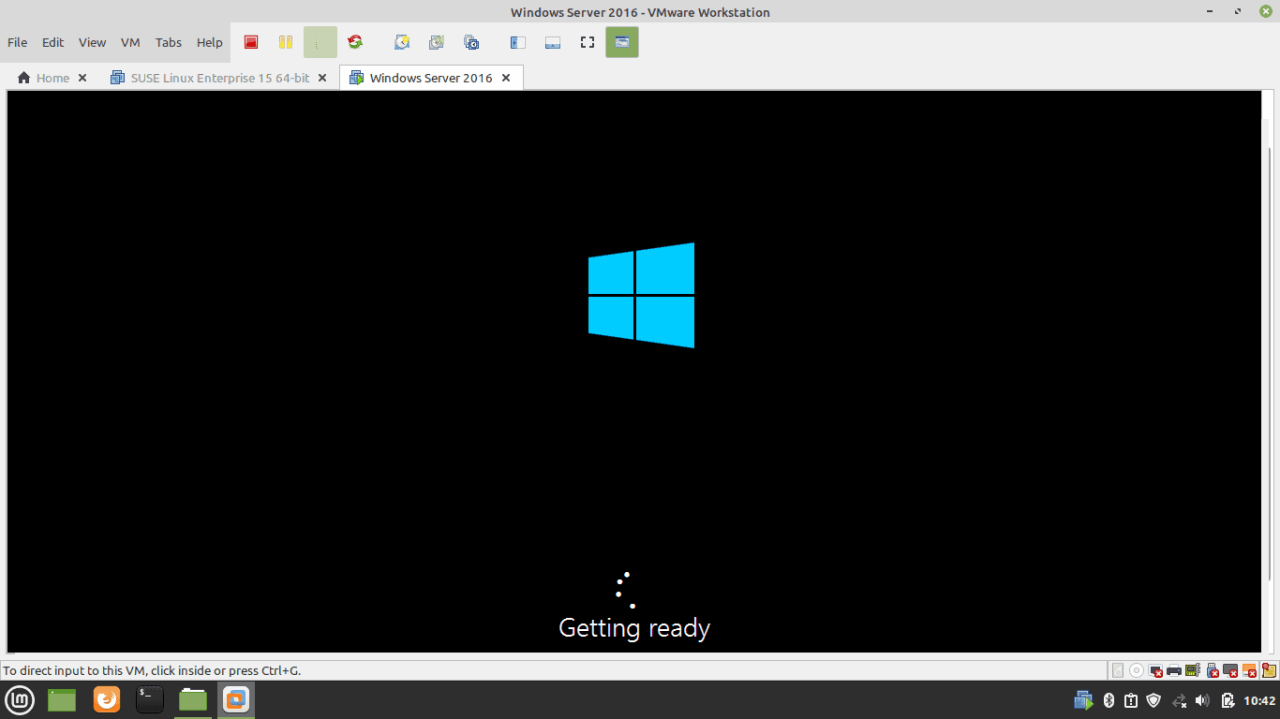
- Windows getting ready after the installation completes
- Create Administrator User

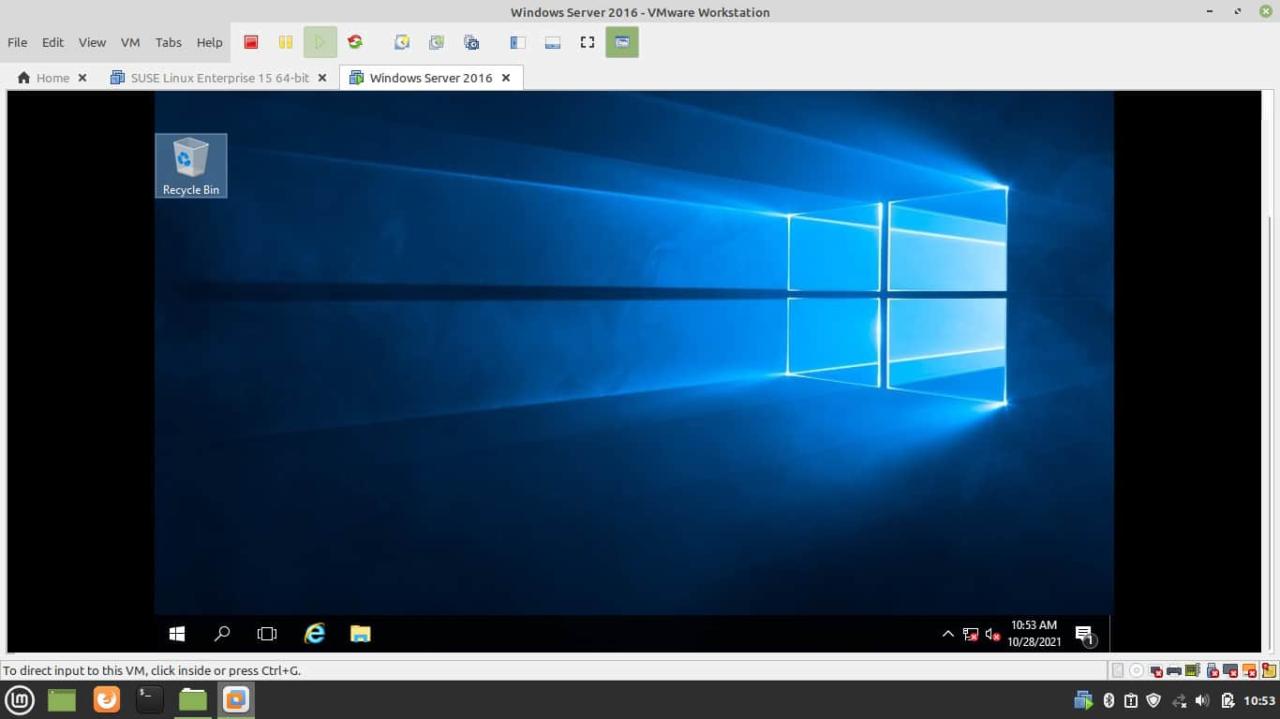
- Windows Server is ready to use

- Windows Server 2016 Login screen
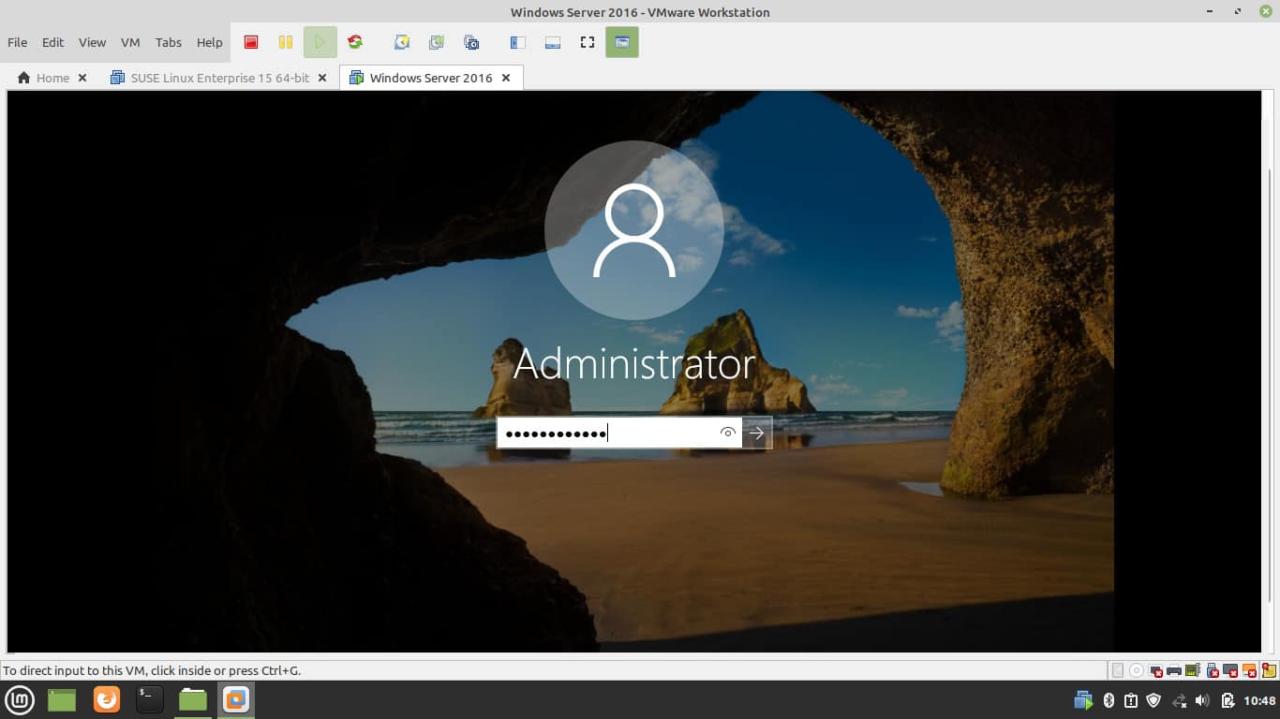
- First look at Windows Server 2016
See Also How To Fix CVE-2021-35234- Privilege Escalation In SolarWinds’s Orion Platform NPM
This is how you should Install Windows Server 2016 on VMWare Workstation.


